
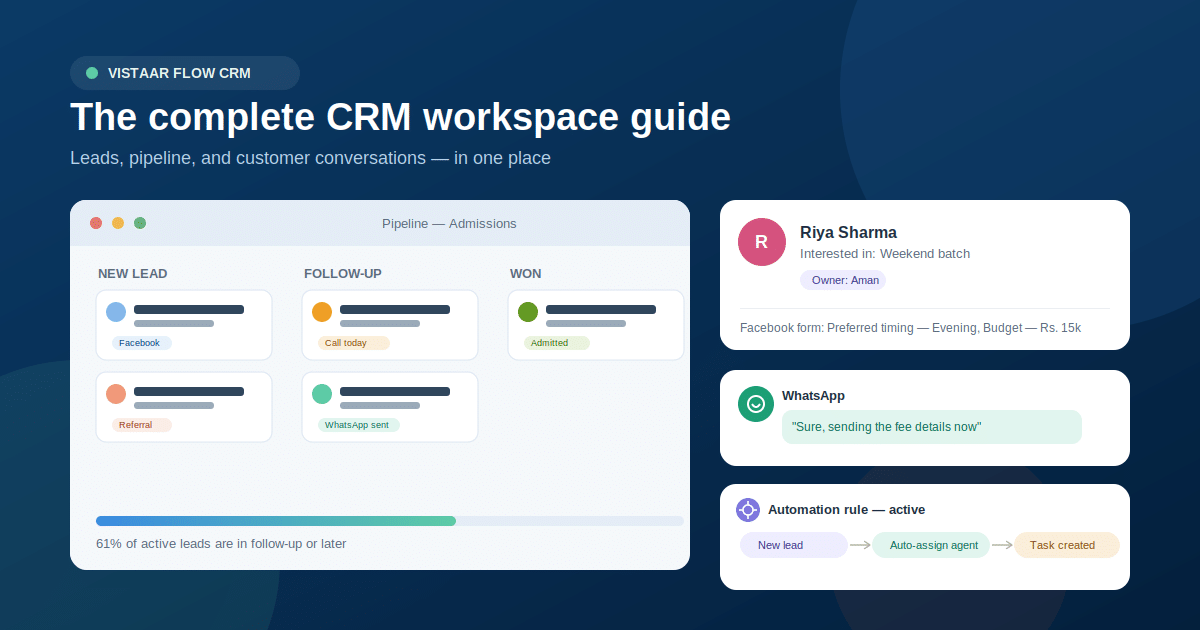
Managing leads across spreadsheets, WhatsApp, and email is where most sales teams lose deals. Vistaar Flow brings everything into one CRM workspace — here’s exactly how to use it, from your first lead to your first automation rule.
If you’re setting up a CRM for the first time, or just want to get more out of the one you already have, this guide walks through the full lead lifecycle inside Vistaar Flow: source → contact → opportunity → follow-up → conversion — and how to actually work each stage, not just where to find it.
What Is Vistaar Flow CRM?
Vistaar Flow is a CRM workspace built to help sales and admissions teams manage the entire customer journey — from the moment a lead comes in, to the follow-up calls and messages, to the final sale or admission. It combines contact management, pipeline tracking, WhatsApp and email communication, and workflow automation in a single dashboard.
The Lead Lifecycle: How Leads Move Through Vistaar Flow
Every lead in Vistaar Flow follows the same five stages:
- Source — where the lead comes from (Facebook, website, referral, walk-in)
- Contact — the permanent customer record
- Opportunity — a specific deal, booking, or admission tied to that contact
- Follow-up — calls, WhatsApp, and email that move the deal forward
- Conversion — the deal is marked won or lost
Understanding this flow is the key to using the CRM well — every feature in Vistaar Flow exists to support one of these five steps.
Step 1: Capturing Leads the Right Way
You can bring leads into Vistaar Flow three ways:
- Manual entry for walk-ins, referrals, and phone inquiries
- Bulk import for spreadsheets from events or purchased lists — clean your data first, since phone and email validation will reject malformed entries
- Facebook Lead Ads, which sync automatically once connected
Pro tip: Don’t rely on the Facebook Leads admin page for daily work — check form answers directly in the contact sidebar or opportunity detail, where they appear alongside the rest of the customer’s activity.
Whatever the source, assign an owner immediately. An unassigned lead is a lost lead.
Step 2: Managing Contacts Like a Living Record
The Contact record is the single source of truth for every customer. To use it well:
- Check the activity timeline before every call or message — it shows past interactions so you’re never starting cold
- Log a note after every touchpoint, not later
- Set a follow-up task immediately if the conversation doesn’t close the loop
- Only assign contacts to active users — deactivated teammates can’t be assigned new work
Step 3: Working Opportunities Through Your Pipeline
An opportunity represents a specific deal — not the person, but the transaction itself.
- One contact can have multiple opportunities if they’re interested in more than one product or service
- Use separate pipelines for distinct workflows (sales vs. admissions vs. renewals)
- Move stages in real time, not in a weekly batch update — this keeps your pipeline reporting accurate
- Always record a lost reason when a deal doesn’t close — this data becomes your best insight over time
Step 4: Communicating Without Leaving the CRM
All conversations — WhatsApp, email, and calls — should happen from inside the contact or opportunity record. This keeps your team’s communication history complete and visible to whoever picks up the lead next.
- Connect via Meta setup before messaging
- Free-form replies work within the 24-hour customer service window
- Outside that window, use an approved template
- For templates with media headers, attach the media at send time
- Only one provider can be active at a time — Gmail, Microsoft, or your domain email
- Use OAuth wherever possible for reliability
- Sync manually if background sync isn’t enabled
- Use saved templates for repetitive replies
Calls
- Click-to-call requires each agent’s number to be mapped first
- Recordings and transcripts depend on your telephony provider (Exotel is common in India, Twilio in Canada)
Step 5: Automating Repetitive Work
Once your manual process is solid, automation removes the busywork:
- Lead Assignment Rules route new leads to agents automatically and skip inactive users
- Workflow Rules can assign leads, create opportunities, generate tasks, and notify agents based on triggers you define
- Campaigns let you message segments in bulk — build segments around a specific pipeline and stage so messaging stays relevant
- Only approved WhatsApp templates can be used in campaigns
Example automation: New Facebook lead → auto-assign to duty agent → create a follow-up task within 1 hour.
Start with one or two rules, confirm they behave correctly, then expand.
Step 6: Using AI Features (Growth Plan and Above)
If your plan includes AI:
- Draft replies and summarize conversations from the AI Work Queue
- Every AI action consumes CRM AI credits, and your provider may bill separately
- Always review AI-generated content before sending it to a customer
Admin Checklist: Keeping the CRM Clean
For owners and admins, a few habits keep the workspace healthy long-term:
- When someone leaves: deactivate first, then reassign their contacts, opportunities, tasks, and appointments before inviting a replacement
- Deactivated users don’t count toward active seats, which keeps billing accurate
- Only admins should touch telephony and email provider settings
- Keep API keys and integration secrets private
Frequently Asked Questions
Can agents see the setup guide, or only admins?
Agents can view the guide, but admin-only features still require owner/admin access.
Where should I check Facebook lead form answers?
In the contact sidebar or opportunity detail — the Facebook Leads page is mainly for admin-level sync and troubleshooting.
What happens when an agent leaves the team?
Deactivate the agent, reassign their open contacts, opportunities, tasks, and appointments, then invite the replacement.
Is Vistaar Flow suitable for non-sales use cases like admissions?
Yes — pipelines are flexible enough to track any process with stages, including admissions, bookings, and demos, not just traditional sales deals.
Final Thoughts
Vistaar Flow works best when your team treats it as the single home for every lead interaction — not a place you update after the fact. Get contacts, pipelines, and communication running first, then layer in automation once your manual workflow is solid.