
By the VistaarFlow Team
Your next customer might find you through a Facebook ad or a Page post. Connecting Facebook to your CRM means those leads land next to the contact record, deal history, and notes your team already uses, instead of sitting in a separate inbox or an exported spreadsheet.
This guide covers the setup and tips for getting the most out of the integration.
Before You Begin
Some steps need admin access, both in our CRM and on Facebook. If you don’t see the Facebook settings, ask your account owner or an admin to complete the setup or upgrade your permissions.
Have these ready:
- Admin access to your CRM workspace
- Admin (full control) access to the Facebook Page you want to connect
- Access to the Meta Business portfolio that owns the Page, if you use one
- Lead Ads forms already created, if you plan to capture leads from ads
Step 1: Connect Your Facebook Page
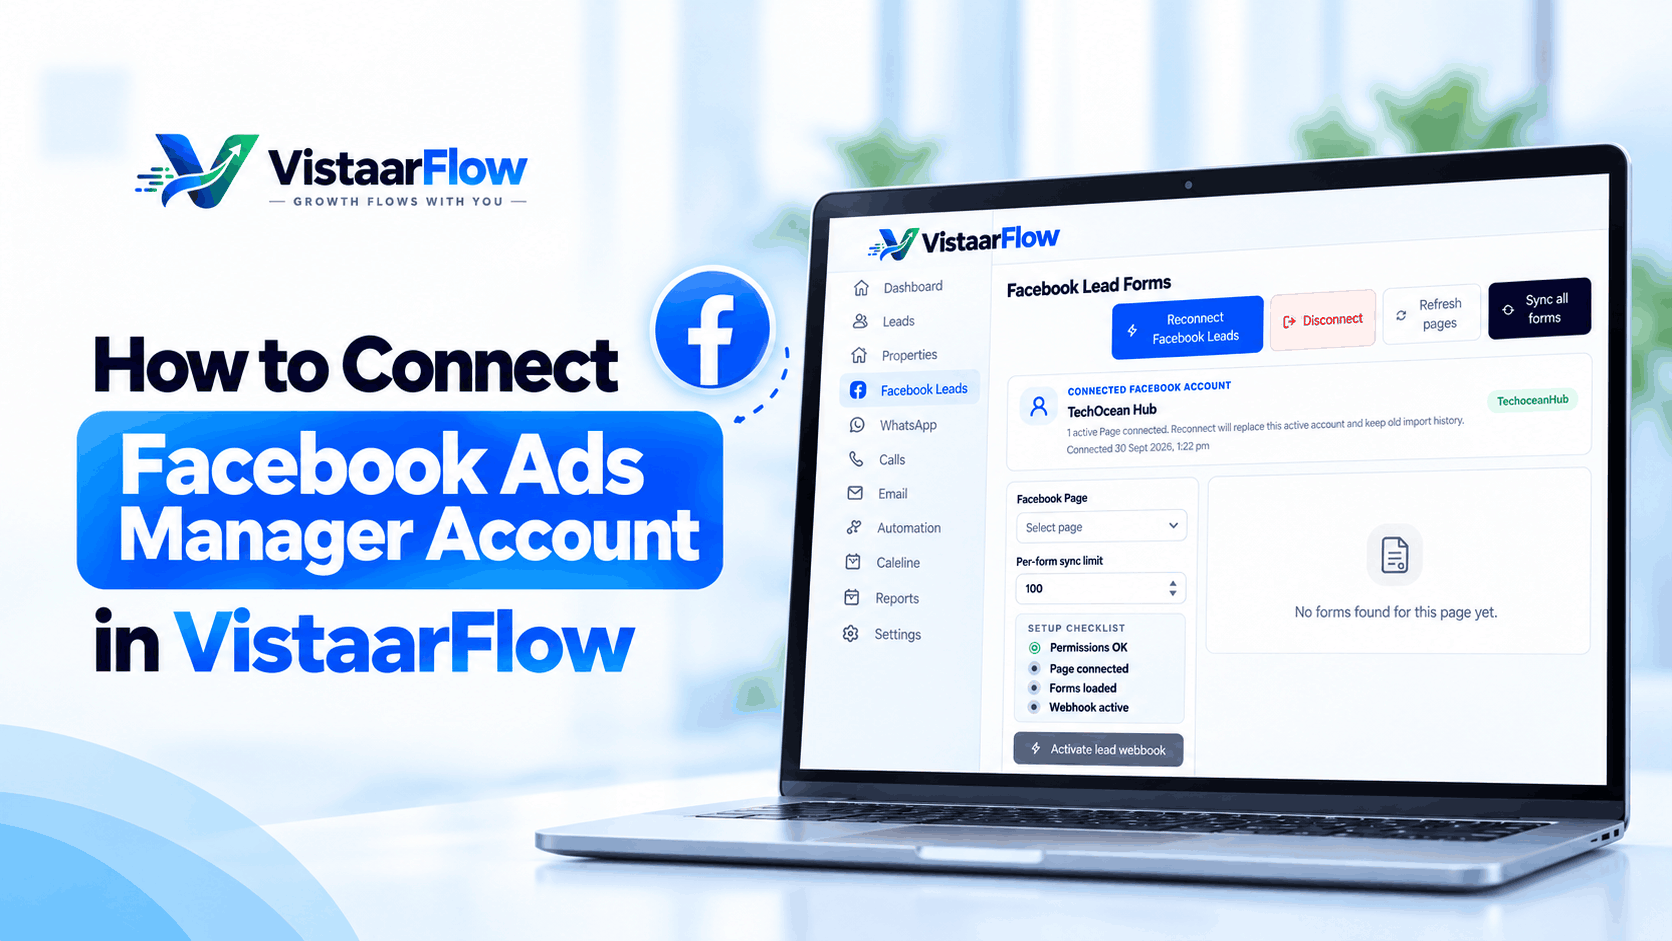
- In the CRM, open Leads and Marketing → Facebook Leads.
- Click Connect Facebook. This opens Meta’s login and permissions screen.
- Log in with the Facebook account that manages your Page.
- Select the Page (or Pages) you want to connect.
- Review and accept the permissions, which typically cover reading lead forms and accessing Page details. Leave all requested permissions enabled, or some features won’t work.
- When you’re returned to the CRM, your Page should show as Connected.
Step 2: Sync Lead Ads
This is where Facebook becomes a lead engine.
- In Lead Ads settings, select the Page and the lead forms you want to sync.
- Map each form field (name, email, phone, custom questions) to the matching CRM field.
- Set defaults for new leads, such as lead source (“Facebook Ads”), pipeline stage, owner, and tags.
Tip: Respond to new leads quickly. People who just filled out a form are most likely to reply within the first few minutes, so set up an instant notification or an automatic first-touch message.
Step 3: Activate the Webhook
Once your Page is connected and the lead form is synced, the form’s webhook needs to be activated. Until it is active, new form submissions won’t reach the CRM.
- Open the lead form you synced.
- Activate its webhook.
- Submit a test lead from Meta’s Lead Ads Testing Tool to confirm it arrives correctly.
Once the webhook is active, leads from that form start coming into the CRM automatically.
Step 4: Set Up Automation and Follow-Ups
Once data is flowing, put it to work:
- Auto-assign new leads so none are missed.
- Trigger workflows when a lead arrives, such as a welcome message, a task for the sales rep, or a pipeline stage update.
- Move leads to another channel (email, phone, or WhatsApp) once you’ve captured their details.
Getting the Most from the Integration
- Tag lead sources by campaign or form so you can see which ads produce real revenue, not just cheap leads.
- Keep lead details, notes, and activity on the contact record so anyone can pick up the context.
- Review permissions regularly. Limit admin access to the people who need it, and reconnect if a team member who authorized the integration leaves.
Troubleshooting
| Issue | What to check |
|---|---|
| Can’t see Facebook settings | You may need owner or admin access in the CRM |
| Page doesn’t appear during setup | Confirm you have full admin control of the Page, not just a limited role |
| Leads aren’t syncing | Verify the form is selected and the field mapping is complete |
| Connection suddenly stops working | The authorizing user’s token may have expired or been removed; reconnect |