
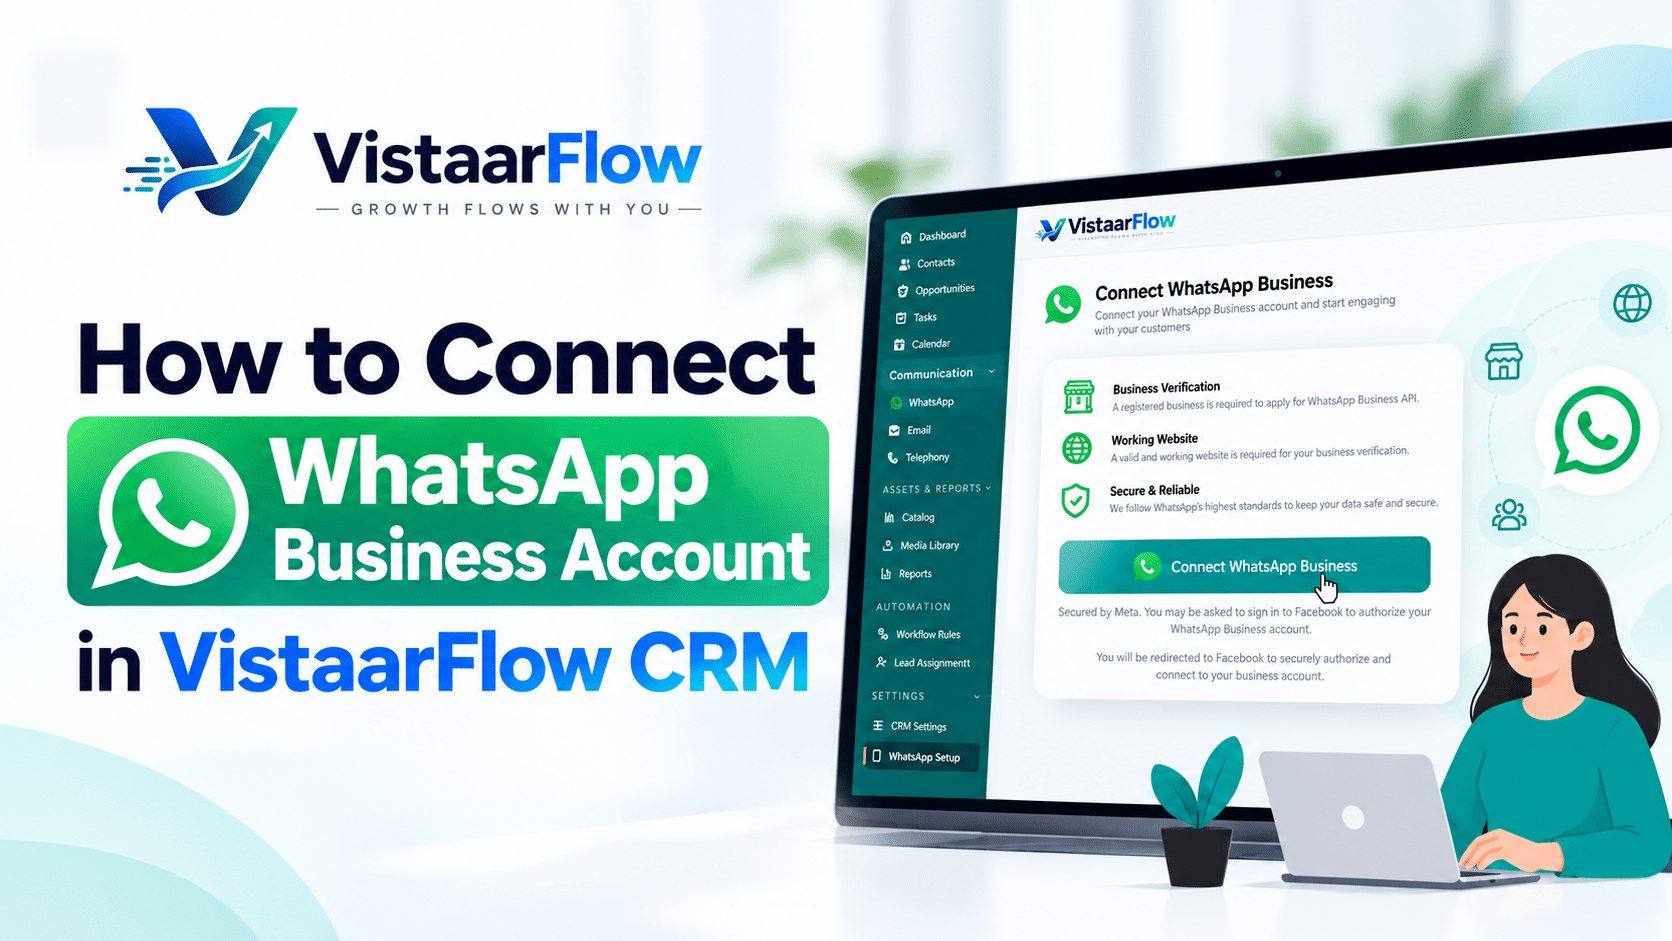
Your customers already use WhatsApp every day. Connecting it to your CRM means every conversation lands next to the contact record, deal history, and notes your team already relies on. No more switching tabs or copy-pasting chat threads.
This guide covers the setup, the rules to know before you start sending, and tips for getting the most out of the integration.
Before You Begin
Some steps in this process need owner or admin access, both in our CRM and in your Meta Business account. If you don’t see the WhatsApp settings, ask your account owner or an admin to either complete the setup or upgrade your permissions.
Have these ready:
- Admin access to your CRM workspace
- Access to your Meta Business account
- A phone number you can use for WhatsApp Business. It should not be actively registered on a personal WhatsApp account.
Step 1: Connect WhatsApp Through Meta Setup
- In the CRM, open Settings → Integrations → WhatsApp.
- Click Connect WhatsApp. This launches Meta’s guided setup.
- Log in to your Meta Business account and select (or create) your business portfolio.
- Choose or create your WhatsApp Business account and grant the CRM permission to manage messages on your behalf.
- Confirm the display name and business details for your WhatsApp profile.
Once Meta confirms the connection, you’re returned to the CRM and your WhatsApp account will show as connected.
Step 2: Register Your Phone Number (If Meta Requires It)
Depending on your account, Meta may ask you to register your phone number before you can send messages. If you see a prompt:
- Select the number you want to use.
- Verify it with the one-time code Meta sends by SMS or voice call.
- Wait for the status to change to Connected or Active.
If registration isn’t required for your account, you can skip this step.
Step 3: Understand the 24-Hour Customer Service Window
This is the most important WhatsApp rule to understand.
- When a customer messages you, a 24-hour window opens. During that time you can reply with free-form messages: text, images, documents, and so on.
- Once the 24 hours pass without a new message from the customer, the window closes. You can no longer send free-form messages.
- To reach out after the window closes, you must use an approved message template.
Each new reply from the customer reopens the window, so a fast response from your team keeps conversations flexible.
Step 4: Use Templates When the Window Is Closed
Templates are pre-approved messages you can send at any time, such as appointment reminders, order updates, follow-ups, or re-engagement messages. To use them:
- Create your template in the CRM (or in Meta’s template manager) and submit it for approval.
- Wait for approval. Meta reviews templates, and rejected ones can be edited and resubmitted.
- When a conversation’s window is closed, the CRM prompts you to pick an approved template instead of typing a free-form message.
- Fill in any variables, such as the customer’s name or an order number, and send.
Tip: Write templates that are clear, useful, and not overly promotional. They get approved faster and customers respond better.
Step 5: Sending Media Header Templates
Some templates include a media header, like an image, video, or document at the top of the message (a product photo or a PDF invoice, for example).
For these templates, you select the media at send time. The template defines the structure, and you attach the actual file when you send it. That means:
- One template can be reused with different images or documents.
- Double-check that you’ve attached the right file before hitting send.
- Make sure the file meets WhatsApp’s supported formats and size limits.
Getting the Most from the Integration
- Assign conversations to owners so nothing gets lost in a shared inbox.
- Log everything to the contact record so anyone on your team can pick up the context.
- Use templates for the moments that matter: confirmations, reminders, and follow-ups after a quote or demo.
- Respond inside the window. It keeps costs lower and conversations more natural.
- Review permissions regularly. Keep owner and admin access limited to the people who need it.
Troubleshooting
| Issue | What to check |
|---|---|
| Can’t see WhatsApp settings | You may need owner or admin access |
| Connection fails during Meta setup | Confirm you’re an admin on the Meta Business account |
| Phone number won’t verify | Make sure it can receive SMS or calls and isn’t tied to another active WhatsApp account |
| Can’t send a free-form message | The 24-hour window is likely closed; use a template |
| Template rejected | Review Meta’s feedback, edit, and resubmit |
Wrapping Up
Once connected, WhatsApp becomes another channel in your CRM, with the same contact history, ownership, and reporting as everything else. Connect through Meta, register your number if prompted, respect the 24-hour window, and lean on templates when it closes.
Ready to get started? Head to Settings → Integrations → WhatsApp, or contact our team if you need help.